
Written and reviewed by the London Garden Music Studios team. Last reviewed 3 September 2026.
Designing well at a small scale is a discipline of its own, and it starts before the walls are drawn: where the mix position sits, how storage is built into the fabric of the room rather than added afterwards, and which trade-offs between isolation and floor area are worth making for a particular instrument and a particular garden.
That method comes down to the layout choices, the storage thinking, and the height and thickness constraints that decide whether a compact studio feels genuinely usable or quietly disappoints once the walls are finished, on the assumption that how big the room needs to be has already been settled.
Layout Discipline for a Single Room
In a small room, where the mix position sits is not a matter of taste, it decides whether the room works at all. Placing a desk on the short wall rather than the long one keeps the deepest run of the room in front of the listener, which gives the stereo image more distance to develop before it reaches the ears than a desk pushed along a long side wall would allow.
Monitor placement then has to be symmetrical around that position, equal distance to each side wall and matched angling toward the listener, because an asymmetric setup in a small room exaggerates any imbalance far more than the same asymmetry would in a larger one. Getting this right at the design stage, before furniture is bought, avoids a room that measures fine on paper but never quite sounds centred.
A square room is the shape to avoid wherever the plot allows a choice. A room close to a perfect cube reinforces the same frequencies in every direction, which works against accurate listening even at a small scale, so a slightly rectangular footprint is generally worth choosing over a square one even when the square option looks like it uses the garden more efficiently.
Storage as Architecture
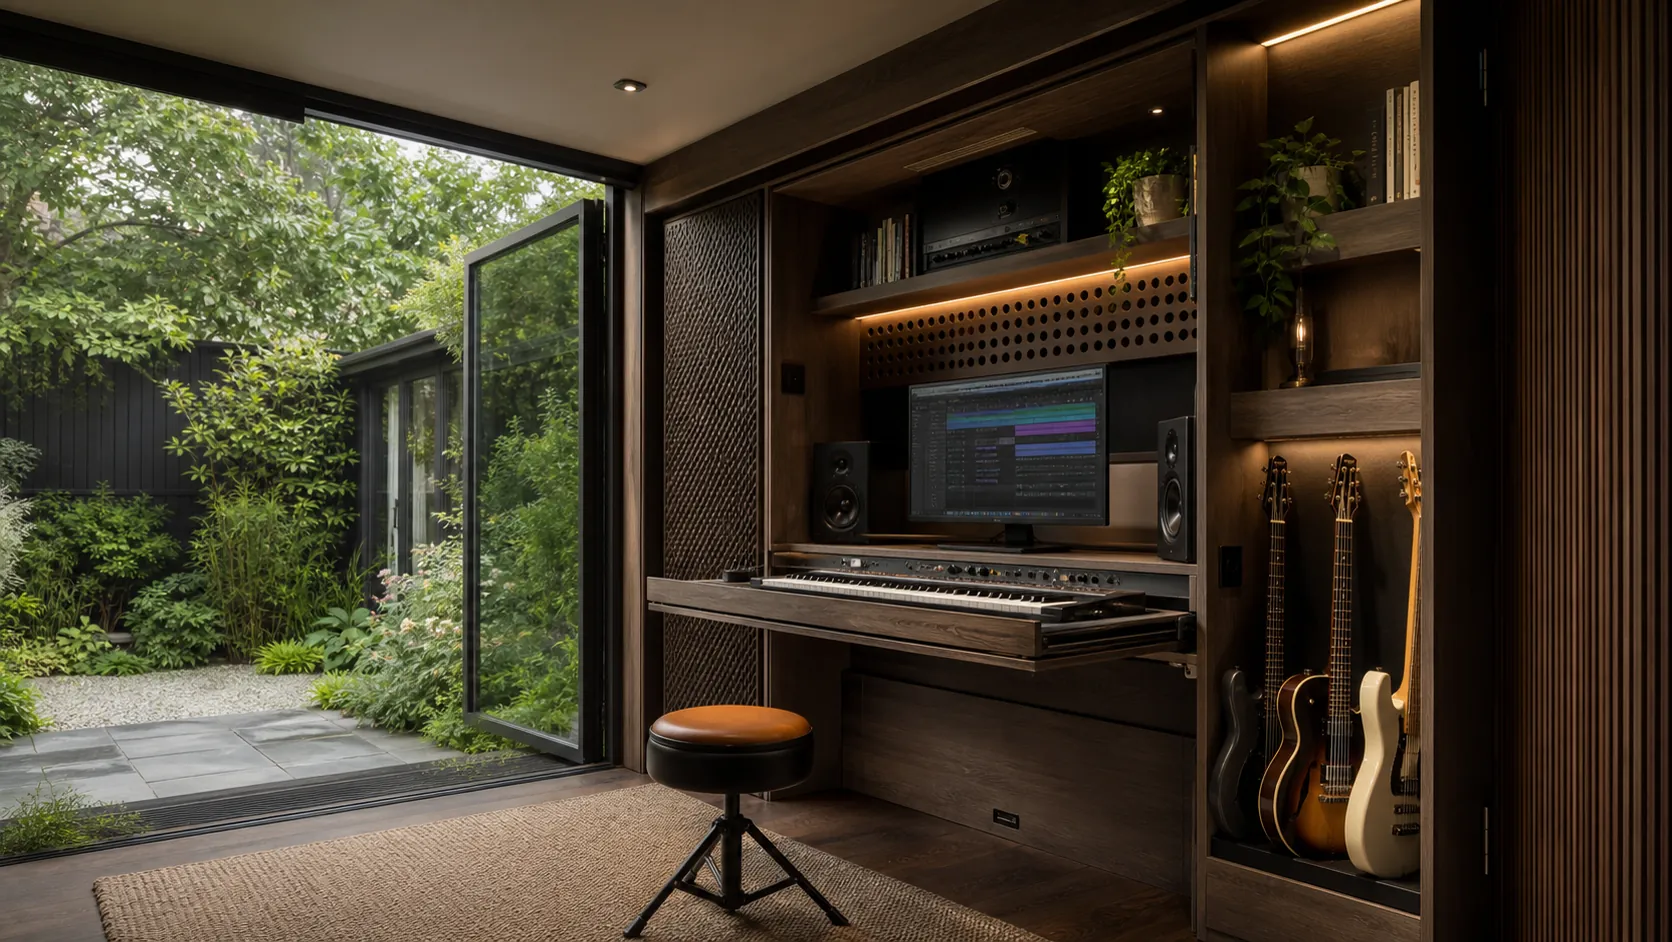
Small rooms lose floor space fastest to things standing on it. Racks, keyboard cases and outboard gear generally belong on wall-mounted shelving or a slim built-in unit rather than stands that eat a footprint the room cannot spare, and that only works if the storage is planned into the wall specification from the start rather than fixed to a finished lining afterwards.
Retrofitting storage into a completed acoustic room usually means drilling through a sealed lining to find something solid to fix into, which is exactly the kind of small breach that can undo careful sealing work elsewhere. Deciding where shelving and racks will sit before the walls are built means the fixing points can be planned in as part of the structure rather than discovered with a drill afterwards.
A shallow shelf above head height works well for cased instruments and cabling that does not need daily access, and a slim cupboard built into an otherwise dead corner can hold cases, cables and accessories that would otherwise sit on the floor. What actually needs storing changes with the room's use, so it is worth listing equipment honestly before deciding how much wall space to give up to it.
Door Swing and the Acoustic Lobby Trade-Off
Door swing is the detail most often missed on a drawing. An acoustic door is heavier than a standard internal door and needs more clearance to close properly under compression, and a door that opens inward into a small room can strand a chair or clip a rack on exactly the day it matters, so the swing needs to be checked at full scale rather than assumed to fit.
A genuine acoustic lobby, a small buffer space between two doors, is difficult to justify in a truly compact room because it takes floor area a single-room studio usually cannot spare. Most compact designs instead put the effort into one well-sealed, well-hung door rather than two doors either side of a lobby, accepting a slightly higher noise transfer at that single point in exchange for keeping the room usable.
Where a compact studio sits close to a busy part of the garden, an outward-opening door under a small covered porch can do some of the same job a lobby would, breaking the direct line between the room and whatever is happening immediately outside without spending internal floor area on it.
Window Placement in a Small Shell
A window in a small acoustic room competes directly with wall space that could otherwise carry storage or treatment, so its position matters more here than in a larger room where there is space to spare either side of it. A window set away from the mix position sightline, rather than directly behind or in front of the listener, avoids adding an uneven acoustic surface exactly where it would do the most damage to a symmetrical layout.
A fixed, well-sealed acoustic window generally outperforms an opening one for isolation, since every hinge and seal on an opening frame is a potential weak point, so ventilation is usually better handled by a separate mechanical system than by relying on a window that opens. Natural light still matters for a room people will spend hours in, which is a genuine trade-off worth discussing honestly rather than defaulting to no window at all.
Wall Thickness Versus Floor Area
This is the central tension in any compact design. Every extra layer added to a wall for isolation is space the room does not get to keep, and that trade-off bites harder in a small room than a large one, because the same absolute thickness represents a much bigger share of the total floor area once the footprint shrinks.
A wall specified for a loud instrument in a small room can end up costing noticeably more usable floor than the same wall specification would in a larger one, which is why the honest answer to how thick the walls need to be always starts with what the room has to contain, not a generic isolation target applied regardless of size. That wall is normally built as part of a room-within-a-room structure, which is why its thickness cannot simply be trimmed without reducing the isolation the whole shell is designed to deliver.
The 2.5 Metre Envelope and the 2.3 Metre Challenge
Most garden studios are built under permitted development, and the height limit that most affects a compact design is a maximum overall height of 2.5 metres, as set out in the permitted development rules for outbuildings, where any part of the building sits within 2 metres of a boundary. On a small plot that is usually the whole footprint, since there is rarely room to sit a studio clear of every fence.
That 2.5 metre external envelope has to hold the roof structure, the floor build-up and the ceiling build-up as well as the room itself, which is why reaching 2.3 metres of finished internal height is a demanding target rather than a formality on a compact build. A well-detailed floor and ceiling build-up is often the difference between a room that feels properly usable at standing height and one that quietly feels squeezed.
Compact studios also tend to sit comfortably under the floor area threshold where Building Regulations exemption applies with fewer conditions, which is a genuine, if secondary, advantage of building small over building large.
When Compact Is Enough and When It Is False Economy
Compact works well for a single instrument or a solo workflow: a producer mixing alone, a singer or wind player practising by themselves, a songwriter who needs one honest room rather than a shed that quietly disappoints. In those cases the layout discipline covered above is usually enough to make a small footprint genuinely usable.
It becomes false economy where the brief actually needs two people working at once, a loud instrument at a demanding isolation tier, or storage for a growing amount of gear, because the trade-offs described in this guide start to compound rather than sit comfortably within a small envelope. In that situation, the honest answer is often that a slightly larger single room serves the brief better than a compact one stretched past what it can comfortably do.